
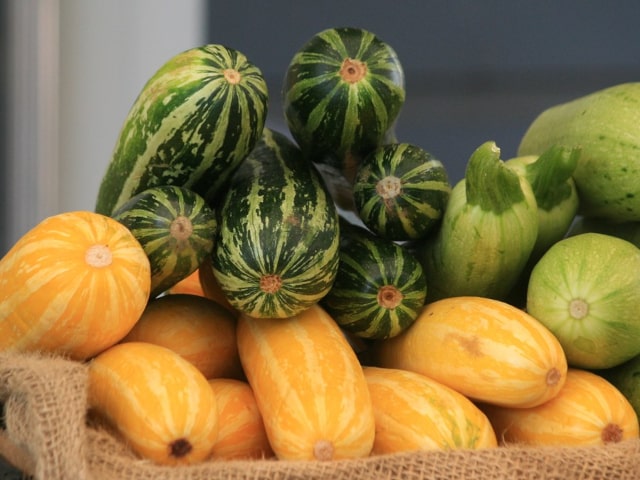
Cantaloupes and honeydews are tasty melons many people love to eat. They are great in the summer, especially when they are chilled. They are rich in vitamin C and anti-oxidants, so they combine great taste and great nutrition. These melons are very rewarding so it's not surprising that there are so many people who want to grow them in their gardens.
Growing cantaloupe and honeydew melons is not complicated, but you have to give them some care and provide nurturing conditions for their growth. The key ingredients you need to provide are plenty of sunlight, heat and moisture.
The first thing to keep in mind is that melons typically require about 2 to 3 months of heat. This means that growing them in northern regions can be challenging. Luckily, it's not impossible. All you need to do something to make the soil warmer. Using a black ground cover makes wonders for your melons. Another great trick to use are floating row covers. These covers are made to trap warm air near the plants. This is how you increase the heat if your climate is not welcoming enough for the melons.
Preparing the Soil
Cantaloupe and honeydew melons require warm soil. It means that you have to wait to plant them until the soil is warm enough. Make sure that the ground temperature is above 70 degrees F. It typically occurs around the time peonies bloom in northern zones.
Before you plant your melons, it's important to cover soil with plastic film. This will ensure that the soil stays warm. Cantaloupe and honeydew melons are heavy feeders, so it's important to prepare a planting bed well. The best way to do it is to plant melons in the soil amended with 4 to 6 inches of compost. Alternatively, you may use well-rotted manure. Another thing to keep in mind is that you have to feed your melons at planting, as well as several times during the growing season.
An alternative way to plant your melons is a bit more extreme. You should excavate the soil about 1 foot in depth and add a 9 inch layer of fresh manure. Cover it with 3 inches of soil mixed with compost. This will create a bed high in nitrogen. It's naturally warm because it generates the heat as the manure compost. Yet another possibility is to plant melons on top of their compost piles to ensure a warm base and plenty of nitrogen.
Planting and Trellising
Keep in mind that melons need room to roam. This is why it's important to space plants about 36 to 42 inches apart. If you want to save some space, plant them 12 inches apart at the base of a trellis.
If you want to use a trellis, make sure to tie vines to the trellis each day. It's best to use soft plant ties that won't damage stems. Cantaloupe requires a large trellis, up to 8 feet tall and 20 feet wide. You may also use wire fencing.
Trellising is beneficial for several reasons. First of all, it allows for better air circulation between vines. It's much better than on the ground, which reduces risks for diseases. Also, trellising allow for more sunlight your plants receive. If you live in northern regions and you want your melons to get even more sun, you may place a trellis against a bright, reflective surface. This can also help preventing pests, such as melon aphids, from reaching the trellis and attacking the underside of leaves. If you choose to use a trellis, make sure it's sturdy enough and properly secured so summer winds can't topple it down.
You should plant your melons in the spring and cover plants with floating row covers. This will provide your melons with more heat and it will also prevent insects from reaching your melons. If you live in a cooler climate, you may also place permeable black tarp or black landscape fabric over the area. It will trap the sun's warmth. You can simply plant melons through the fabric (cut the x-shaped slits in the fabric).
Caring for Melons
You need to know when is the right time to uncover your melons. Usually, the best time is when your plants develop flowers. Keep in mind that vines develop male and female flowers. Male ones open first and female ones follow about a week later. You will recognize female flowers for a small swelling on the base of the flower.
You should also get rid of any potential weeds before vines start to run. It will be impossible to step among the vines to get rid of weeds later. To control weeds, you can add some mulch on the soil under vines. It will also slow down the moisture evaporation from the soil. If you planted in a black cover, this is already done, but if not, it's the right time to do it.
Some gardeners prefer to switch fertilizer during the growing season. Between the planting time and when the first flowers open, it's best to use a fertilizer with more nitrogen than phosphorus and potassium. Once the flowering begins, however, it's best to use a fertilizer with less nitrogen but more phosphorus and potassium (a good one is African Violet food or liquid seaweed).
Proper Watering
Keep in mind that watering is probably the most important thing you need to provide to your melons. To grow and thrive, melons need a steady supply of water. Vines are very sensitive to drought, especially during the time between transplanting and when fruits begin to form.
You need to keep the soil consistently moist but not waterlogged. Your melons should not sit in water - it may kill them. It's not surprising for leaves to wild under the strong sun, but they should not remain wilted during the evening.
Make sure not to over-water your melons. Drip irrigation systems and soaker hoses are good because they deliver the water directly to the soil but not all over the place. This minimizes the risk of fungal diseases on wet foliage. In case you must use a sprinkler, water your melons early in the morning so the leaves can dry early.
Developing Fruit
The fruit has to be kept away from direct contact with soil. It will keep them away from pests and it will prevent rot. You should place your ripening fruit on mulch, flower pots or upturned coffee cans. If larger pests such as groundhogs discover your melons, you can protect the fruit by covering them with plastic milk crates or similar boxes. Make sure to weight down the boxes with a few bricks.
There is an old tip that suggested pinching off a vine's growing shoots as melons start to ripen. The idea was to cause the plant to focus all of its energy to the ripening fruit. However, recent researches suggest that there's no basis for this assumption. Vines need all of its leaves in order to produce the sugars that will sweeten the fruit. Anything that will reduce the number of leaves available for producing sugar reduces the sweetness of your melons.
Another thing to keep in mind is that the more fruits ripen at the same time, the less sweet they will be. This is logical: if there are many fruits, the plant has to divide the leaves' sugar production to all of the fruits. This is why it's better to have fewer fruits on the vine at any given time, so each one can be sweeter. ideally, ripening one melon at a time makes the best sweetness, but making your plant ripe one melon at a time requires some skill and experience.
If you live in a colder area, make sure to remove any blossoms that start to develop within 50 days of the first average frost date in your area. Any developing fruit will not have time to ripen before the frost. Therefore, it's better to focus on the remaining fruits and make them as big and sweet as they can be.
Pests and Diseases
Keep in mind: to make your melons sweet, they require a lot of sugar. Sugar is produced by the leaves. Therefore, anything that hurts the leaves will affect the sweetness and quality of the fruit.
One of the most common problems melons can develop are fungal diseases. They spread rapidly and can do a lot of damage.
Alternaria leaf spot and gummy stem blight will leave spots on the leaves and stem blight forms bleached or tan sections on stems as well as rot on fruit.
Another problem to worry about is downy mildew. It will cause yellow or pale green leaf spots. Powdery mildew is yet another disease you should know about. It leaves white spots on leaves. Keep in mind that Ambrosia cantaloupe is tolerant to powdery mildew.
To treat fungal diseases, use special fungicides. You should check with your local garden center to learn more about the disease attacking your melons so you know how to get rid of it successfully.
When it comes to pests, melon aphids are common. They can colonize a vine quickly. You should inspect leaf undersides on a daily basis to notice any pests. If you spot aphids, make sure to treat them quickly, using an insecticidal soap.
Another common pests are spotted and striped cucumber beetles. They can attack vines and transmit bacterial wilt disease. It causes vines to collapse. They can neve recover from it. This is why it's important to spot cucumber beetles on time.
Harvesting
Melons don't take a lot of time to ripen. Cantaloupes ripe in about 3 to 4 weeks. As soon as one melon is ripe, the other will follow. About a week before a melon is ripe, minimize the watering. Keep the water level just enough to prevent vines from wilting. This will allow the vines to focus all of the sugars in the fruit. Too much water will dilute the sugars and reduce the sweetness.
To check a melon for ripeness, check out the skin color and stem. Cantaloupe's rin changes from gray-green to yellow-buff when the plant is ready. The netting pattern becomes more pronounced. Also, a crack appears at the stem that encircles the base of the stem. These are all signs that the melon is ripening.
A ripe melon should easily slip off the vine. Another way to tell that your melon is ready because your cantaloupes will develop a musky odor. It will be very noticeable as you approach your melon patch.
When it comes to honeydew melons, they are smooth-skinned and they will become cream colored as they ripe. The blossom end should give slightly when pressed when the fruit is ready. However, don't press the blossom end repeatedly as this may harm the plant and cause bruising, which can give a false sign of ripeness.
If you want to harvest a honeydew you don't want to eat straight away, leave about an inch of stem attached to the fruit. It will prevent the melon from rotting.
You can store harvested melons in the refrigerator for up to a week. In case you have more melons at hand than you can eat, you can simply dice or cut the flesh into balls and freeze it for further use.
Photo credit: amboo who?


0 Comments