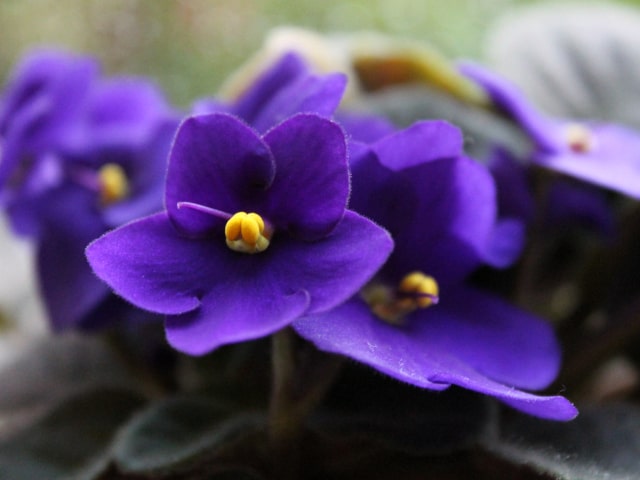
African violets (Saintpaulias) are easy plants to propagate. Just like they don't require a great amount of care and they can be grown easily, they can be propagated without much problem. There are two ways to propagate your African violets: leaf cuttings and through division.
However, the most popular method is propagating by leaf cuttings. This is an easy way to expand your collection, and it can be done by placing leaf cuttings in soil or water.
Propagating by leaf cuttings is best done in the spring. This is the best way for your African violets to benefit from summer weather to grow and become strong. It will usually take about 10 to 12 weeks for the first new leaves to appear.
There are two practical methods to root divisions or leaf cuttings: by placing them in either water or soil. It's best to choose middle-sized leaf to make leaf cuttings. Choose a healthy, strong leaf. Cut it with about an inch of leaf stem (the petiole).
Propagating by Leaf Cuttings in Water
Cover a water-filled glass mason jar or tumbler with wax paper. Hold the paper in place with a rubber band. Pierce the paper in three places. Carefully, insert the leaf stems in these holes. Make sure they are deep enough so the stems can reach into water.
Place the jar or glass where it can receive abut the same light as your growing plans do. It's best to put them somewhere where it's not full sun: this is why a sunny window won't do. It's also possible to root and grow cuttings under fluorescent grow lights. You may want to speed up the rooting process by dusting the cut end in rooting hormone powder.
One important note about the water you will use for the jar or the glass: in case you use faucet and not rain water, it's important to let it stand uncovered for 24 hours so that all chlorine is released and it can be used safely.
Roots should appear in 2 to 4 weeks, depending on your location and the variety of your African violets. You will notice roots appearing at the ends of the stems. This is when you should change the water.
The next thing you will notice are leaves emerging. You should notice it about a week after the appearance of roots. A small green leaf will typically appear at the base of each parent leaf. In case the parent leaf begins to deteriorate, you may transfer rooted leaves by potting them into 2 inch pots filled with light soil or pure sand. In case the parent leaf remains healthy and firm, it's best to wait until you observe a cluster of leaves about one inch long. This is when you should do the transplanting.
Transplanting your cuttings into solid media is not a complicated process. The media should be moistened vermiculate or 50% bagged African violet mix and 50% perlite. The best container to use is a 2 inch pot.
To make the transfer with the best success and with the least danger for your developing plant, use a small butter tub cup containing a bit of water. Place the rooted leaf in the vessel so the roots are spread. Sift moist (but not wet) fine soil around the roots, until all the water has been absorbed. After this, both the soil and leaf can easily be lifted using a spoon. You should expect a bit of a setback while the roots are adjusting to the new medium.
Don't forget to place transparent plastic bags (you may also use plastic bottles) over the new plantings for a week. It should be done to ward off shock. After a week, you may remove the plastic.
About 6 weeks of growing, you should repot your plants into three inch pots. This is when you should give them regular care of African violets. You may let them grow and flower in these pots, and when they mature, move them to four inch pots.
Propagating by Rooting Leaves in Soil
Propagating leaf cuttings in water is just one method to propagate African violets. You may also start your new leaf cuttings or plant divisions directly in soil, using either trays or pots. You may use many different containers: pots, jars, terrariums, aquariums, even plastic soda bottles. Plastic bottles are actually great for making a makeshift greenhouse for propagating.
You should always use a special soil medium: moistened vermiculite or 50% bagged African violet soil mix and 50% perlite. When starting your cuttings, insert the leaves just deep enough to rest under the soil surface. In case a leaf rests on the soil, it will decay. When placing the leaves, firm the soil well around each stem.
Make the "mini greenhouse" by placing your containers in a light but not overly sunny place. Cover the pots or trays over the top with a piece of cellophane secured by a rubbed band. Leave them be for several weeks.
Make sure that the soil is moistened well a few days after transplanting. It's important to keep it damp at the beginning. However, in case the moisture collects on the sides, remove the cover long enough to remove the excess water. This precaution will usually not be necessary, unless the "mini greenhouse" is placed in a very warm or sunny place.
In about 4 to 6 weeks the rooted leaves will be ready and at the new plant stage. This is when you should pot them separately and take the usual care of them.
Pot-in-Pan Method
Finally, there is a third method for propagating leaf cuttings: pot-in-pan method. For this method, you should use moist sand, sand and peat moss, moistened vermiculite or 50% bagged African violet soil mix and 50% perlite for a good rooting mixture. Use this mix to fill a large, porous bulb pan. Place a small stoppered clay flowerpot in the center of the pan. Keep it filled with water. Keep in mind that the amount of water will decrease over time because of slow seepage through the walls of the inner pot.
Carefully, place the leaf stems in the soil at a slight angle, the upper surface to the front. In about 2 to 4 weeks the roots will form. In about 4 weeks after that, you will notice new sprouts pushing up to the surface. In about three months, you will have well-developed plants ready for separate potting.
Additional Tips
All of the above methods (water glass, soil, pot-in-pan) will make you start your own violet collection so you will increase the number of your African violets.
Here are some additional tips and notes about propagating these beautiful plants:
- Some people use Rootone to advantage and speed up the process. This way, it's possible to get developed, flowering plants in about four months. However, note that flowering in less than 8 months is unusual.
- As a general rule, rooting and flowering of African violets is hastened by a spring more than an autumn start.
- It's important to understand that propagation time varies: some varieties root very quickly, while others take some time. As long as the parent leaf remains strong and healthy, don't worry: the growth of roots and new leaves will occur eventually. This process takes months, so don't worry if roots and leaves don't appear quickly.
- In case your leaf supply for propagating is limited, or if a variety is scarce, you might be able to grow a second or even a third crop of African violets from the same leaf. Each time you will have to use a shorter, sharply cut petiole until the whole petiole is gone. You may need to propagate the final cutting with perhaps no petiole at all so you will have to use only the leaf base.
- Like said above, propagating usually takes months, so you need to be patient. Typically, you will have a well-established plant in less than five months. It should produce flowers in less than a year.
Photo credit: Emma L Brown

0 Comments