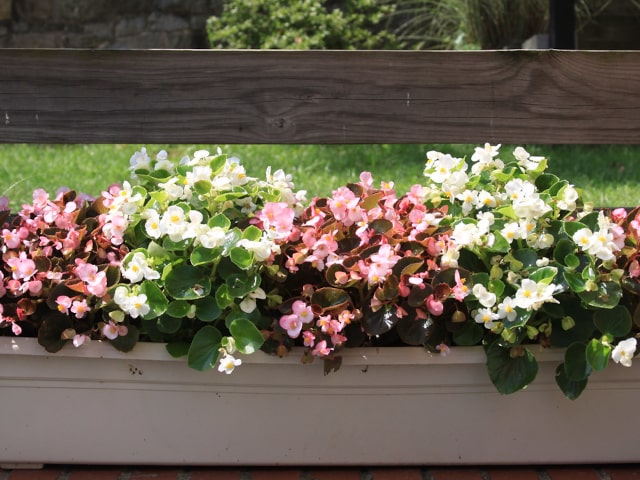
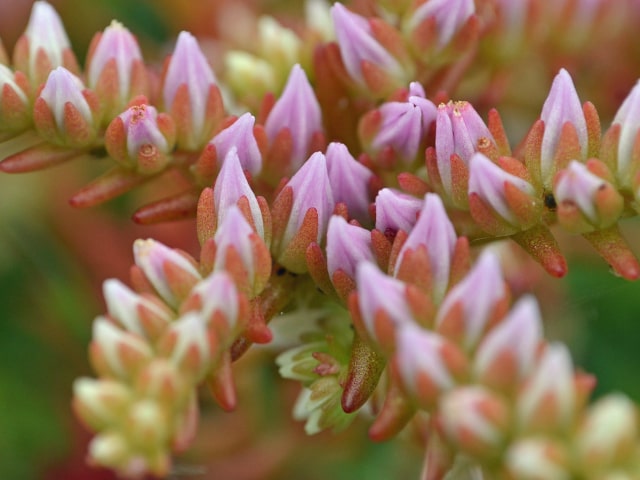
Begonias are gorgeous plants that can be found in many gardens. Part of the standard care for Begonias includes propagation. There may be many different reasons on why someone might want to propagate Begonia plants, but having more Begonias is the most common reason.
The good news is that it is possible to propagate Begonia plants with relative ease, but you need to know how to choose the right method, and also you need to follow a few simple steps. Keep in mind that choosing the right method not only saves time, but also increases your chances of success. Not to mention that an easy method is ideal for beginners who might want to try plant propagation for the first time.
The Easiest Way to Propagate Begonia
There are several different methods you can use to propagate Begonia plants. However, not all of them are equally effective. Also, some take more time than the others, so it is important to keep this in mind when choosing how to approach propagation.
It is important to understand that it is possible to grow your Begonias from seed. These can germinate properly and grow into strong and healthy plants. However, this method is slow, and definitely not the easiest one you can choose.
Instead, people are generally using a different approach to propagate Begonia plants. Using cuttings is fast, easy and it produces excellent results. This is by far the easiest way to propagate Begonia, so it is the first method you should consider.
How to Propagate Begonia from Cuttings
If you wish to propagate Begonia plants from cuttings, it is a straightforward process. You should start by cutting a few healthy leaves from an adult Begonia plant. Make sure to choose a plant that is strong and healthy: this will not only increase your chances of propagation success but will also allow the mother plant to recover more easily.
Another thing to observe are the leaves themselves. Make sure to choose only healthy leaves to turn into cuttings. Weak or diseased leaves are not good candidates, and these can ruin your propagation effort.
Once you have the leaves, turn them upside down and slice them into thinner wedges. Make sure to always use only sterile knife or a pair of scissors. This will ensure that not pathogens are transferred from the mother plant into the cuttings or from the outside environment into the cutting.
Also, when making thin wedges from the leaves, always make sure that there is a vein in each individual piece. This is needed for your new Begonia plants to grow properly.
You can quickly and easily get a lot of cuttings using this method. However, if you only want to get a few new plants, you don't need to slice the leaves - the leaves themselves can act as cuttings. If you wish to go this route, remove the leaves from the mother plant, and make sure to always leave about half to one inch of the petiole - stalk holding the leaf to the stem.
The next step is to plant your cuttings. It is best to use a sterile potting mix, such as a combination of peat moss, vermiculite and perlite. Stick the leaf wedges into the soil. Alternatively, if you used whole leaves for making cuttings, stick petioles into the soil.
Once these are planted, make sure to cover the tray with a plastic bag. If you are using a smaller container, you can also put the entire pot into a plastic bag. Make sure to keep the pot away from direct sunlight, but it has to be placed in a warm spot. Occasionally, you should mist the soil so the cuttings will stay moist. However, make sure not to keep the soil so wet that the cutting sits in water. Doing this may cause the root rot, which is something you wish to avoid.
After this, you should wait. The roots should start appearing after 3 to 4 weeks. When this happens, leave cuttings to develop roots even more. In about 6 to 8 weeks, the cuttings will be strong enough so you can transplant them into a larger container or into the garden.
Also, keep in mind that you can root Begonia cuttings in water instead of the soil. Simply fill a glass or a jar with fresh water. You can put more than one cutting into the jar. Observe how roots are developing. Once they are at least half of an inch to an inch long, you can plant them into containers or into the garden.
Photo credit: Jim, the Photographer
0 Comments