Many people love to start their own seeds, often using the ones saved from the previous season. This is a good alternative to buying small plants already growing at the garden centers. Starting your plants from seeds can be fun, creative and it gives you more control over the process and the final product, namely, the plants you will grow in your home or garden.
However, in order to keep this process fun and successful, it's important to be organized. It's important to buy, store and keep all the materials used for propagation and to have them ready when the time comes to start your plants from seeds. Some of the essential materials you'll need are small pots, trays, flats, rooting cubes, and more.
You will also need a good potting mix or a started medium. This is where things always get messy. The soil gets everywhere and it makes the process messy and difficult to clean. Not to mention it's often tedious to work with a potting mix. Working with soil also leads to frequent confusion on mixing the wrong types of soils together.
For these reasons, preparing your own starter blocks for seeds is a good technique to organize the whole process. By having the starter blocks ready, you will make the process faster and you will have readily-available soil for planting the seeds. It minimizes the mess and makes the whole process very organized.
How to Prepare Your Own Soil Blocks?
Before you start, it's important to set up a clean work area. It's best to choose a hard surface such as a concrete slab. You will use it to dump your mix. You also need another area to keep your trays and blocks once you made them.
To make your starter blocks, you will need a potting mix, water and a block maker.
To prepare your starter blocks:
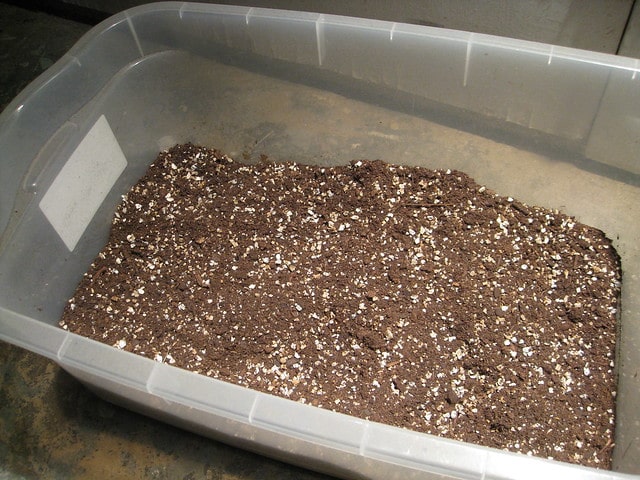
- Dump the soil mix on the hard surface. This will be your main work area to prepare the blocks.
- Wet the soil mix. This is a very important step, so be careful. Most people don't add enough water initially, which is a mistake. You want the mix to be thoroughly most. Don't be afraid to add lots of water. You want a really moist mix, with almost dripping water. This will make it easier to work with and it's better for the soil itself.
- Crate a large pile of the wetted mix. To determine the right size, take a look at your block maker. The pile should be about one inch taller than the maker.
- Carefully, place the plunger into the cylinder of the block maker. If done correctly, the eye should come through the top towards you. It means it's positioned in the right way and ready for the next step.
- Dip the whole blocker in water.
- Ram the blocker (bottom first) into the soil mix, until it hits the hard surface below. Make a few twists and turns to make sure it's really making contact with the surface.
- Add the soil mix. Pack the soil lightly but firmly in the plunger. This will "seat" the soil in the blocker.
- Carefully, pull the blocker with the soil out of your pile of soil mix.
- This step is very important and should be done gently. Lift the blocker and the soil should stay inside. If it falls out, try again. Gently twist and tilt the blocker as you lift it. In case the soil won't stay on the blocker, add a bit more water and pack the soil harder, then try again.
- Place the blocker with the soil bottom down in your tray. Carefully, using one hand, press down with the eye bolt. Gently rise the cylinder with the other hand. Twist the cylinder as it rises to make the process easier.
- This should produce a nice, compacted soil block on your tray. Another advantage is that the eye bolt and nuts will leave a good depression to place your seeds.
Continue until you make all of the blocks. This is how you'll have the starter blocks prepared and ready for planting.
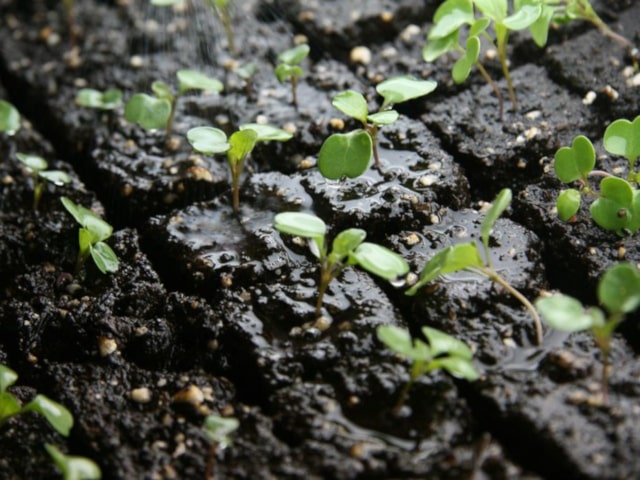
To plant the seeds, place them inside the block depression and then cover them lightly with a bit of a soil mix. Keep the blocks moist and water them daily. When the seeds sprout, simply remove the lid from the container. Depending on the plant, it usually takes about 2 to 4 weeks for the sprouts to grow large enough to be transplanted. During transplanting, handle the blocks with care. Use a spatula to lift the blocks out of the tray and move the seedlings to their new home.
Photo credit: cheeses
0 Comments