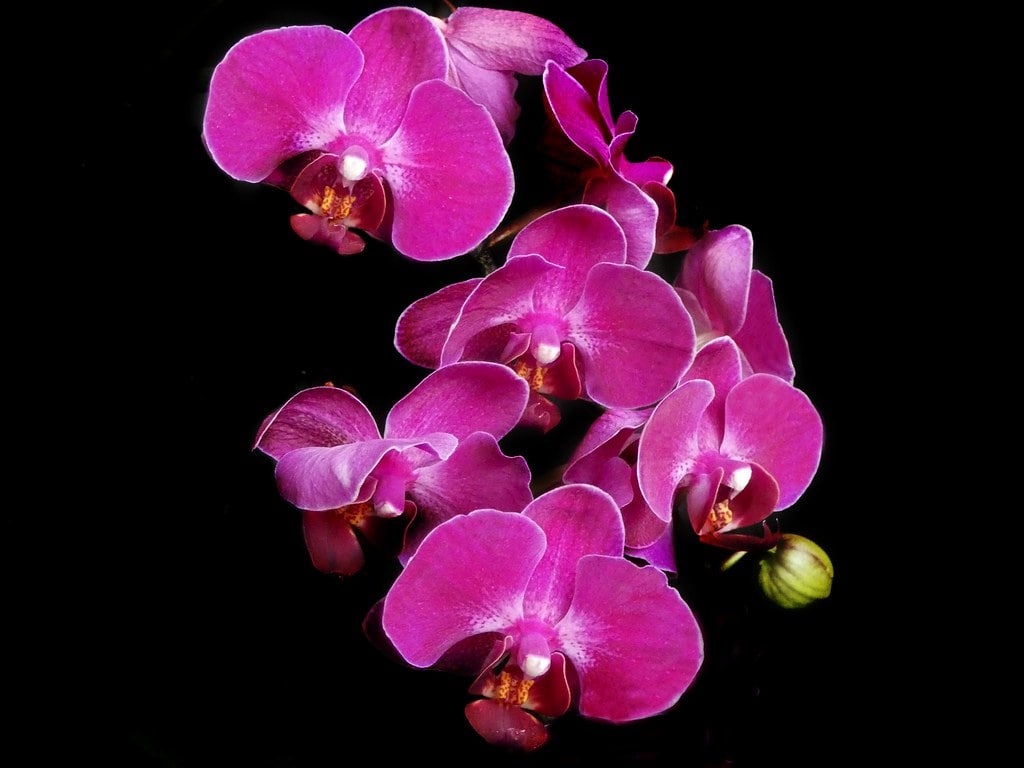
Phalaenopsis moth orchid is beautiful and popular houseplant. To take a good care of it, you need to know how to pollinate it properly.
If you have a healthy phalaenopsis orchid that blooms year after year, you might want to try pollinate it. This is achieved when the pollen attaches to the stigma and enters the ovule for fertilization. That will make the seed pod form behind the flower.
You need to know that germinating orchid seeds is difficult so it's a bit of an advanced gardening technique. Many plant growers choose to remove the seed pods before they are fully ripe and send them to labs for flasking.
Before you start the actual pollination, it's important to prepare the work area. Everything should be properly organized, clean and ready. It's best to choose a bright area with lots of light so you can actually see what you're doing. Choose a work area near a window or a lamp. If you wish to use artificial light, choose a daylight lamp with a fluorescent bulb that won't generate heat.
The work surface has to be clean so it's best to cover it with sheet or table cloth. Choose a white or light-colored fabric so you can easily find the pollinia in case you drop them.
Stuff You'll Need
There are some tools you will need for successful orchid pollination:
- White fabric, such as table cloth
- Bright light source
- Bamboo skewer or a similar type of tool
- Notebook and pencil
- String tags
How to Pollinate Phalaenopsis Orchids
To properly pollinate your phalaenopsis orchids:
- Choose a healthy and strong blooming phalaenopsis orchid. It should be the one that has been growing healthy for some time. It's best to use one that has been repotted recently since you can't repot it once the seed pod starts developing.
- Pick a flower that has bright, fully-formed colors and waxy-looking petals. It's important to choose a flower that has been blooming for a few days.
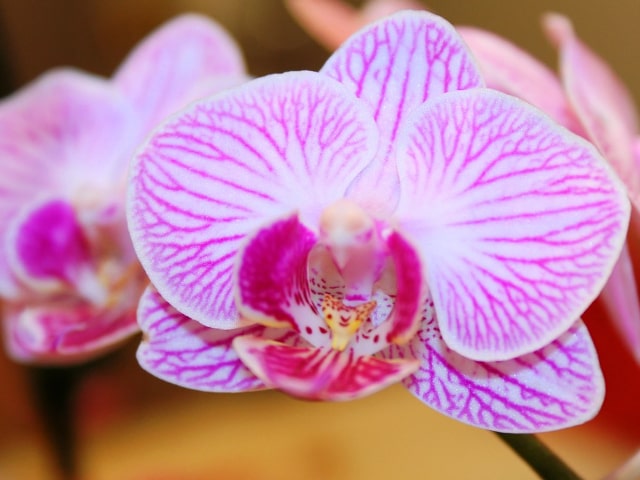
- Locate the orchid's main reproductive organ, the column. This is a small tubular extension found at the center of the flower, between the two largest petals and directly above the lip (the part of the flower that has tendrils shaped like hooks). You can do this more easily if you look at the top of the flower at the base of the upper sepal. The column contains both the pollen and stigma.
- After you have found the column, search for the anther cap. It's located at the end of the column. It has a slightly pointed piece pointing towards the lip and away from the column.
- Use a clean bamboo skewer. Gently and carefully, touch the skewer tip to the underside of the anther cap tip in order to dislodge the paired masses of pollen (pollinia), located beneath the anther cap.
- Carefully move the skewer down and toward the orchid's throat. If you do this correctly, the pollinia and the covering anther cap should attach themselves to the skewer tip with sticky fluid. Make sure you don't brush the skewer against anything at this point so the pollinia can stay on. Chances are that you'll be able to do this because the sticky substance attaches pollinia very firmly.
- Slowly dislodge the anther cap from the pollinia using a fingertip. It's easiest to do this by tilting or shaking the skewer tip. Alternatively, you may use another clean skewer and knock the anther cap loose with it.
- At this point, you will need a second plant and the flower you want to pollinate. Take the flower gently and tilt it if necessary to find the cave-like area located on the underside of the column. It's behind the area that the pollinia occupied. This is the female stigma and it has a sticky surface of its own.
- Gently maneuver the skewer tip toward this area. It's important to make sure that the skewer tip comes in contact with the stigma's pocket.
- Slowly withdraw the skewer. If done correctly, the pollinia should be tucked up into the stigma. It should remain there. If this isn't the case and the pollinia are still on the skewer end, repeat the maneuver until you make a success. It's important to harvest a pair of pollinia from a flower on the second plant and carefully transfer them to a flower on the first plant.
This is the basics of the maneuver. It is tricky to do, and this is why many orchid growers choose to leave the job to professionals. However, with some practice, it's possible to learn how to do this all by yourself and be successful at pollinating your orchids.
Tips
One word of advice: it's always good to keep a detailed record of all the available information. Write down the cross information in a notebook or a computer file. It's best to put the info in a table. Write the name of the female parent first (it's the plant that received polinia) and add an "x" next to it. Then, write down the name of the male plant (the one that gave the pollinia). It's important to give each cross a unique number so you can track their progress.
You should label each flower in a unique way, for example, with a small jeweler's sting tag with the number on it. The number should be used to easily identify the plant and the individual cross.
After you're done with pollination, you should closely monitor your pollinated flowers to see the pod forming. This can take between 3 and 12 months.
You need to keep in mind that growing orchids from seed is a rewarding but very long process. Orchids are delicate so it's not always easy to grow them from seed. It's important to be fully informed about what to do and to know how to care about your orchid plants. Pollination is an advanced gardening technique that's recommended only to seasoned gardeners. If you want to grow orchids from seed you need to know you must invest possibly 10 years or even more to see an orchid you've grown from seed flowering for the first time. It does take time, patience and dedication, but it's also very rewarding and you will be excited watching your orchid flowering for the first time.
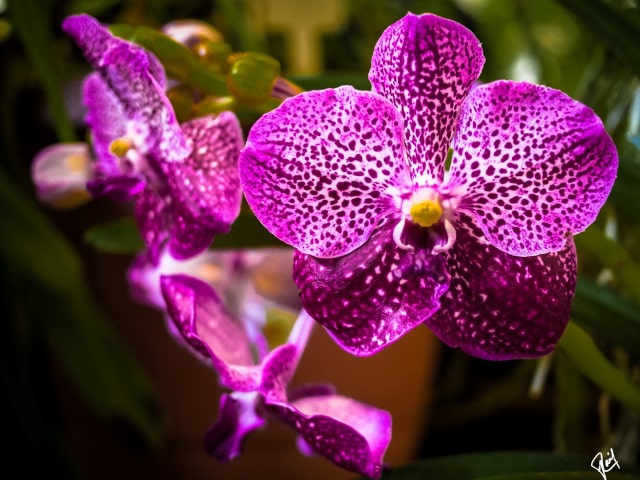
Photo credit: Linda De Volder
1 Comments
Thank you for the post. Can this be done successfully on the same plant (self pollination)?