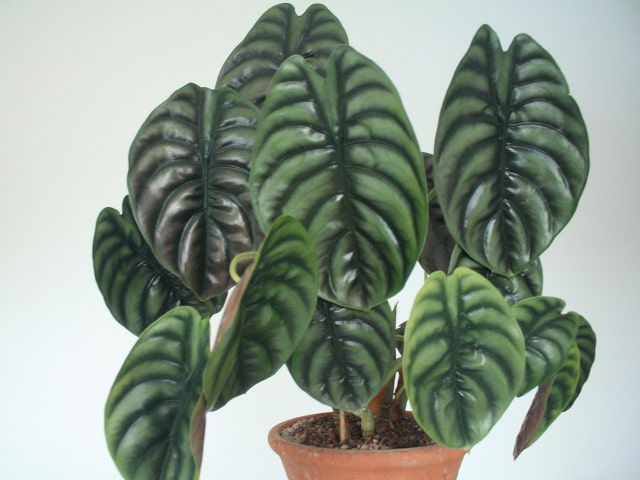
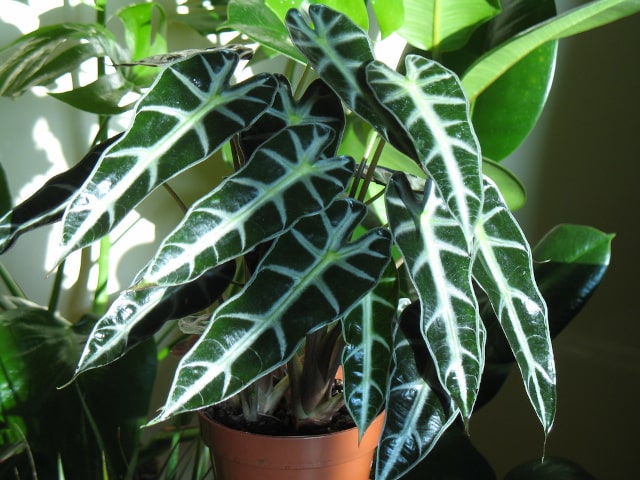
Alocasia is a popular genus of houseplants that is famous for species such as Alocasia zebrina, the majestic Alocasia amazonica, and very striking Alocasia "Stingray". These plants are so popular and well-liked that many gardeners wish to have more in their homes. This is why it's so useful to know how to propagate Alocasia properly.
Propagate Alocasia through Division
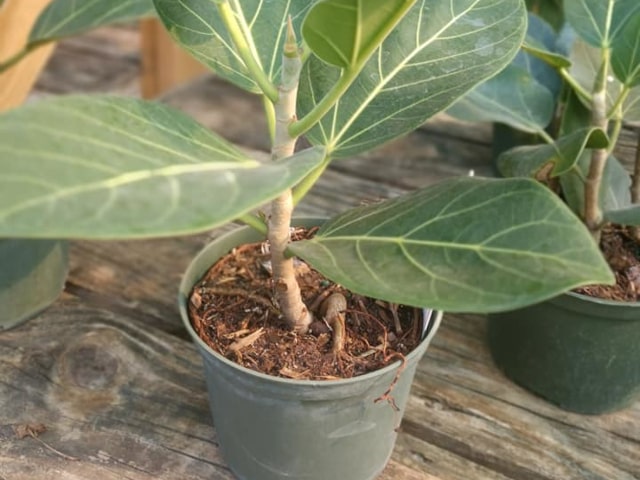
If you wish to propagate Alocasia plants to get more of these gorgeous plants in your home, it is important to understand that the best and most effective way to do this is through offset division. Keep in mind that Alocasia is an tuberous plant, so it sprouts from a central rhizome. This will influence a lot when it comes to propagation and division.
Since Alocasia grows from a central rhizome, it means that it is not really suitable to be propagated through cuttings. Taking cuttings is the most common way of propagating house plants, so it is not surprising that people go for this first when it comes to Alocasia, too. However, it is not the best method for this plant.
The good news is that propagating Alocasia is not so much of an issue. It generally grows by clumping, which means that it actually consists of several plant clumps. You will be able to see it easily when you remove Alocasia from its pot. Also, another lucky fact is that Alocasia plants often produce offsets. These are healthy growths that sprout from the plant's roots and create small copies of the adult plant. Offsets can be easily removed and simply replanted in a separate container to get a new plant.
How to Propagate Alocasia in Simple Steps
If you wish to propagate your Alocasia plants in a quick and simple manner, here is a step by step guide to follow. Keep in mind that you should always be gentle and pay attention not to mishandle your plant, but other than that, it is generally not difficult to propagate Alocasia in the home.
Here are the most important steps for propagating Alocasia plants:
- Prepare the plant. Before propagation, it is important to carefully prepare your Alocasia. Take it out of its pot and make sure to shake all the excess soil from the roots. Many times, the soil is very clumped, so do not force it. It is best to soak the roots in water to soften the soil or simply use a garden hose to water the roots and free them from the excess soil.
- Identify clumps and offsets. Once the plant is ready, take a good look at it to notice its clumps. Like noted above, Alocasia plants consist of several clumps. You might also be able to notice some offsets on the mother plant. These will be somewhat connected through the roots, but don't worry: they will be very easy to separate a few of them.
- Taking clumps and offsets. Once you have identified clumps and offsets, it is easy to separate (cut) a few to form new plants. Just make sure to do it gently. It is also best to use a sterile knife or a pair of scissors, particularly if you find that the roots are too tangled.
That is all. You will get new plants you can put in their separate containers. A great thing about Alocasia is that each clump had its own root system, so there is no need to wait for it to sprout roots.
However, if the clumps and offsets don't have their roots yet, you can encourage rooting for the best propagation results.
Propagate Alocasia with Water and Soil
You can propagate Alocasia plants with water if the clumps and offsets don't have their own roots yet. To do this, make sure to clean the soil of the bottom of the clump or offset and place it in a container filled with water. Using tap water on room temperature is a good way to go. Make sure that the bottom of the plant (where the roots grow) is submerged. Place the container in a spot that gets bright but indirect light. Do not use direct light because it can encourage the growth of algae.
You can even grow your new Alocasia plants like this for longer periods of time, just make sure to top up the water that has evaporated whenever you notice the level of water going down.
However, if the Alocasia clumps and offsets that you have collected already have their own root system, it is best to plant them in the soil. Simply prepare a contained with a drainage hole for each individual plant, and make sure to use soil that can hold moisture well. Keep in mind that Alocasia is a tropical plant but it should be able to have the excess water drained. A good way to go is to use a mixture of potting soil with some perlite and coco coir.
Once this is prepared, simply place your Alocasia offsets or clumps in the soil. Make sure to water them lightly. Place the containers in a bright but indirect sunlight. Remember to give some time to your plant to recover from propagation, so it might take a few weeks until you notice new growth on it. When the leaves start to pop up, you will know that your propagation effort was successful.
Photo credit: Clivid
0 Comments