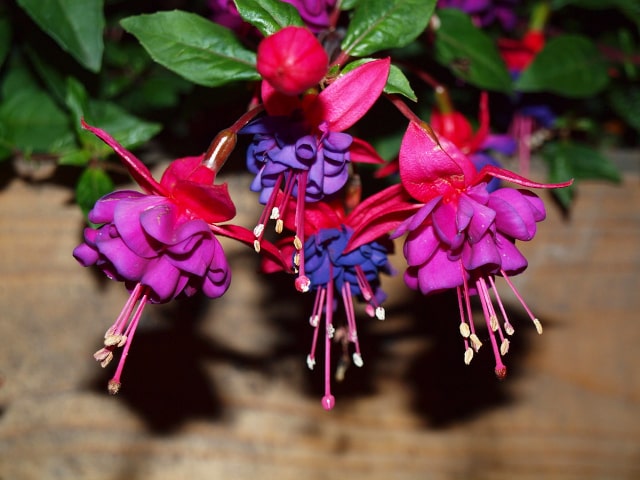
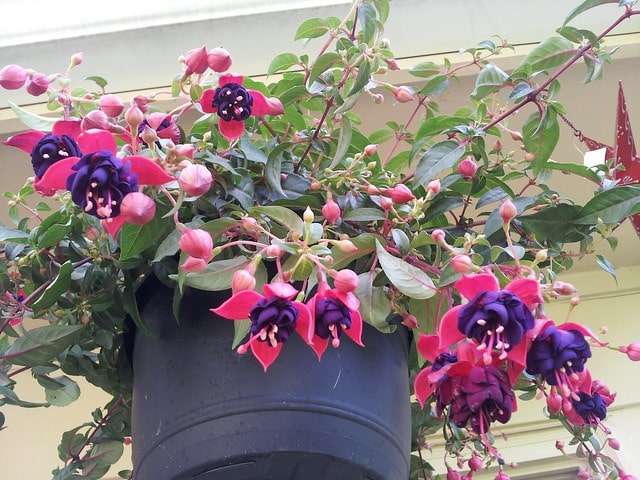
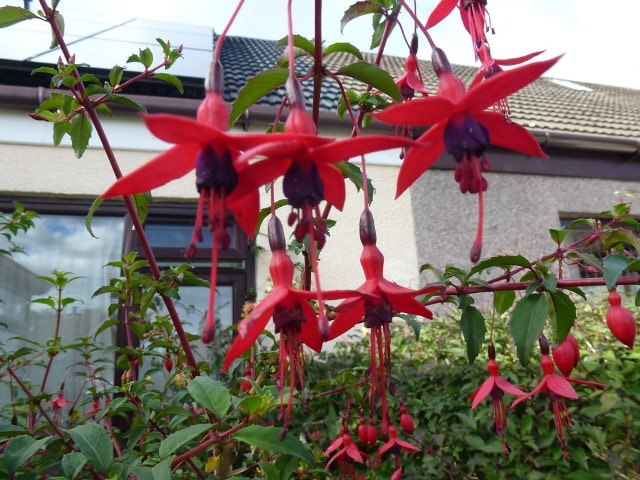
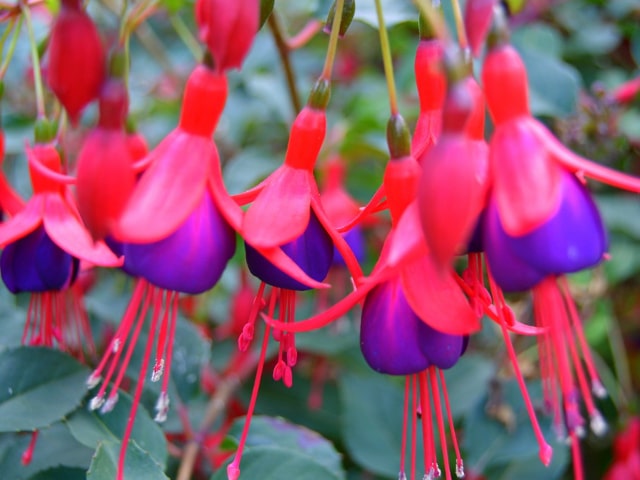
Fuchsias are beautiful plants that many people choose for their homes or gardens. Thy are famous for their bell-shaped, two-colored flowers that are hanging like skirts. These plants can add a great touch to any home or a garden. Fuchsias bloom throughout the summer, so it will keep your place looking amazing for a long time. Furthermore, there are so many varieties to choose from. It is not difficult to see why these flowering plants are so popular.
How to Propagate Fuchsia From Cuttings
Propagation from cuttings is probably the most common and easiest ways of Fuchsia propagation. It is not a difficult method, so even beginner gardeners can try it. A good thing about this form of propagation is that it's possible to take cuttings from Fuchsia at any time between spring and fall. However, taking Fuchsia cuttings in the spring is the optimal time, so it's best to do it at that point.
To collect cuttings, simply pinch out or cut a young growing tip from a Fuchsia plant. It should ideally be around 2 to 4 inches in length. When cutting, make sure to cut just above the second or third pair of leaves.
Once you have the cutting, remove any bottom leaves. At this point, you may also wish to apply some rooting hormone to the cutting's base, but this is not mandatory. Propagating Fuchsia from cuttings will generally work even without rooting hormones.
Once you have your cuttings, place them into a moist growing medium. Good choices of medium are sand, perlite, vermiculite, peat moss or sterilized soil. Once planted, you can cover the cuttings with ventilated plastic to help retain moisture and humidity while cuttings root and grow, but it is not mandatory.
Make sure that cuttings are placed in a warm location. A greenhouse or a windowsill in a home are good locations. Fuchsia cuttings should start establishing strong roots after about 3 to 4 weeks. Once the roots start, remove the plastic if you used it. The removal of the plastic is important because it acclimatizes the new plants.
Leave your new Fuchsia plants growing for a bit, and when they seem strong enough, repot them to a larger pot and care for them in the same way you care for an adult plant.
Tips on Successful Fuchsia Propagation
It is generally best to collect at least several cuttings, to maximize the chance of successful propagation. Place 3 to 4 cuttings in a pot that is about 3 inches in size. Alternatively, if you wish to collect more cuttings, you can place them in a planting tray.
The easiest way to plant cutting into the growing medium is to make a hole in the medium with your finger or a pencil. This way, you will be able to insert the cutting easily and without damaging it.
Instead of soil, it is also possible to root Fuchsia cuttings in water. They are easy to grow in a glass of water, and they are also easy to observe that way. You should wait until they develop nicely established roots and when that happens, repot them into the soil.
While it is not mandatory to place ventilated plastic over the cuttings, keep in mind that it will speed up the rooting process. A plastic cover will improve moisture around the cutting, which will benefit the plant. This is why many people opt for this, even if Fuchsia cuttings can root well without a plastic cover.
Typically, it takes about 3 to 4 weeks for Fuchsia cuttings to establish roots. However, it might happen sooner. Closely monitor your plants for changes to know when it starts to establish roots and grow properly.
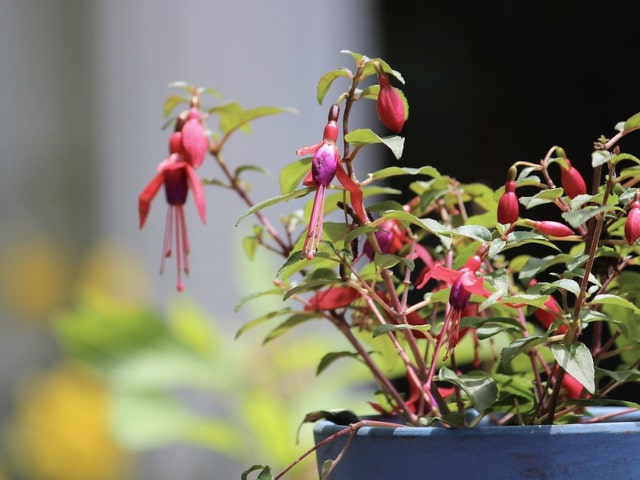
Many people choose to grow Fuchsia plants in pots, but hanging baskets are also a good option. When your new plants are growing strong, you can move them to a hanging basket. Just make sure that the basket is in a semi-shaded area. Alternatively, you may place your new Fuchsia plants in the garden. It is important to acclimatize your new plants properly before taking them outside, and always make sure to provide them with adequate water, soil and light requirements that will keep your Fuchsia plants happy.
Photo credit: Anita
0 Comments