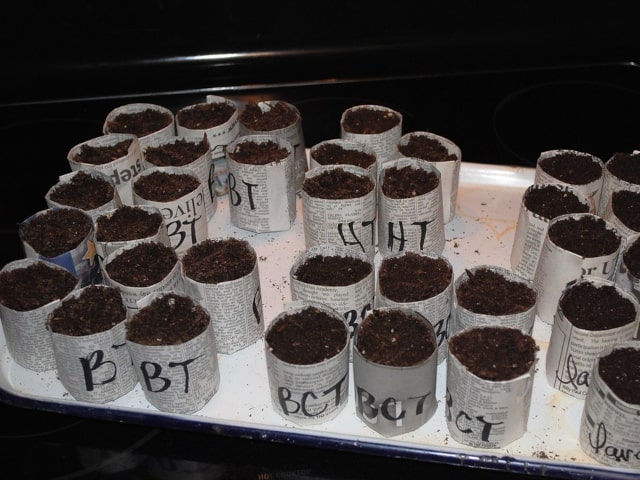
Some of the best ways to start your plants is to grow them from seeds and cuttings. These methods can bring you a lot of healthy, strong plants, all with a minimal expense. However, one common problem with these methods is transplanting shock. Many newly transplanted plants die or are harmed due to this shock.
One of the most effective ways to reduce and avoid this type of shock is to start plants in peat pots or special soil blocks. These pots and blocks can be planted directly into the ground, which would reduce the transplanting shock for your plant.
The best things is that you can make these blocks relatively easily, using nothing but household items. This is a great way to help your plants overcome transplanting shock.
Homemade Starter Pots
Homemade starter pots allow you to grow numerous new plants for your garden for the cost of just a few packs of seed. This is a very affordable method and it works great. It allows you to fill all of your garden with plants of bright colors or to grow tasty vegetables and herbs for your family.
The best thing about this method is that it's truly cheap. All you have to buy is the seed. You don't even have to pay for planting pots or seed trays. You will make your starter pots using nothing but paper or, alternatively, newspaper.
This is why it's useful to collect a lot of paper in your home. It's best to use clean paper without letters, since the paint used for printing is sometimes toxic. However, if you don't have other paper available, you may use newspaper. Make every effort to pick clean sheets of paper but you don't have to buy new one. Chances are that you will find all the needed paper somewhere in your home. Paper can be easily shaped into handy containers for your seeds.
Materials
To make your homemade starter pots out of old paper, you will need:
- Old paper. Each sheet should be roughly 22"x12" per pot.
- One 10-15 ounce can.
- Seed-starter medium (make sure it's moistened).
- Waterproof tray.
Instructions
- To make your homemade starter pots, start by folding the paper lengthwise. Make sure that the long edges go together. It will create a strip of paper. Press along the folded edge.
- The next step is to create a cylinder. Take the can and put it on its side at one end of the paper strip. Make sure that the base is about two inches up from the cut edge. Roll the paper around the can to make a cylinder.
- Now you have to create the base for your pots. Start at the outer seam and fold the free end of the cylinder inward. Make sure to build three more folds inward to create the base of the pot. Don't forget to the press the paper firmly. It will make the folds as flat as possible.
- After this, remove the can. Carefully, slip your new paper pot off the can.
- Fold the edges of the pot. Start at the outer seam and fold the top 1/2 to 1 inch of the pot inward. It will create a stable rim of the pot.
- This is how you get your homemade starting pot for your plants. All you need to do now is to add soil. Hold the pot with one hand and make sure to place some of the fingers on the bottom to keep the pot closed. Carefully, fill it with moistened seed-starting medium from the top. Set the pot in a waterproof tray. Repeat these steps to make as many starter pots as you need.
Using the Pots
When you have as many pots as you want, you can start planting. Take the seeds and plant a few of them in each pot, or according to the instructions on the seed bag. When you are done, gather all the pots on one tray. Make sure to water the pots. Your seeds will grow into new seedlings.
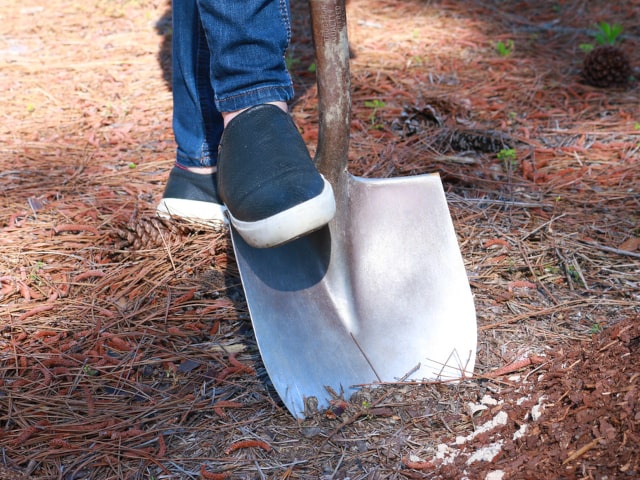
When the seedlings are ready to be planted in the garden, dig a hole deep enough to bury the whole pot. Make sure that the hole is big enough so the rim of the pot is below the soil surface. You need to do that because exposed paper could wick water away from your plant.
In case you can't dig a hole of the appropriate size, you may tear off a bit of the rim of the pot so it doesn't stick out from the ground.
Your seedling is now in the ground and it will grow without much transplanting shock because you didn't take it out of its original soil. The roots of your new garden plant should grow quickly through the paper sides of the pot, especially if the soil is moist, so your plant will get established quickly. This is a simple, cost-effective and eco-friendly way to minimize or completely eliminate transplanting shock in your plants.
Photo credit: Peppysis
1 Comments
The easiest way to do this is to use toilet paper rolls or cut paper towel rolls in half. Voila! You have your paper starter pots. Then when you're ready to transplant, just put the whole think in the ground.