Starting your plants from seed is not always easy. You need to know how to plant the seeds and care for the new seedlings. Not to mention you should also know how to transplant your seedlings, plant and grow the plants to maturity. It often takes a lot of work to start your plants this way.
However, many plants benefit from this regime, and there are some plants you have to start from seeds. This is why all gardeners should know how to start plants from seed and how to get the best results.
Here are some important tips for starting seeds and ensuring the best results:
Keeping Records
To get the best results, you need to be organized. Never forget about record keeping: this will help you a lot when it comes to organization and deciding what's best for your plants. It doesn't matter if you simply want to grow a few plants for your flower or vegetable garden: you need to maintain a detailed propagation journal.
There are some details you need to keep in the journal. Record the date when seeds are sown, as well as germination date and success rate. It's also important to record when seedlings are ready to be transplanted. Also, keep track of where you buy seeds, since seed quality may vary by source.
At the end of the growing season, consult the journal and evaluate your production schedule and timing, to see what went right and what went wrong. This will help you make the right changes in the next year so you can get even better results.
Proper Storage
Keep in mind that seeds are delicate and fragile, so if you don't treat them properly they will soon lose their viability. While there are some seeds that may survive for a long time (decades, even centuries) under the right conditions, there are also some that will quickly lose their viability even if they are stored properly.
To get the best results, it's important to keep the seeds dormant. To achieve this, keep them in a cool, dark location. It's also important that your chosen location has low humidity (refrigerator is a good choice).
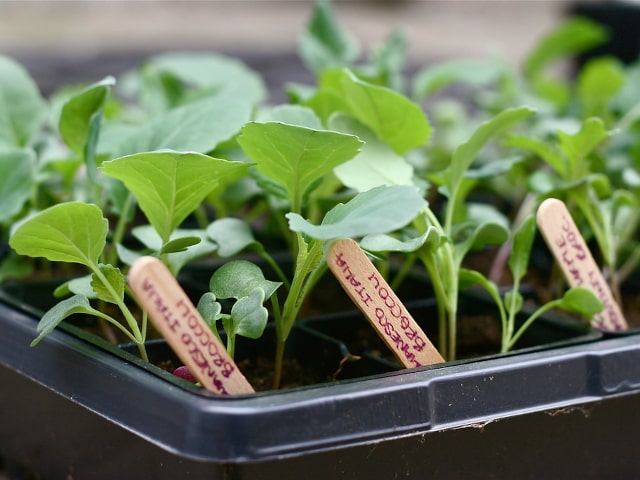
Proper storage also includes proper labeling. You need to know what is the you're keeping. You should label each seed packing with seed name, source and year. Store seeds in a small, reclosable bag. Another good way to go is to use empty film canisters and place them in a larger plastic container.
Before you sow your seed, it's important to test its viability. Most (but not all) seeds can be tested by simply soaking them in water for a few hours. The still living seeds will sink to the bottom while the dead ones will float on the surface. This test works best for larger seeds.
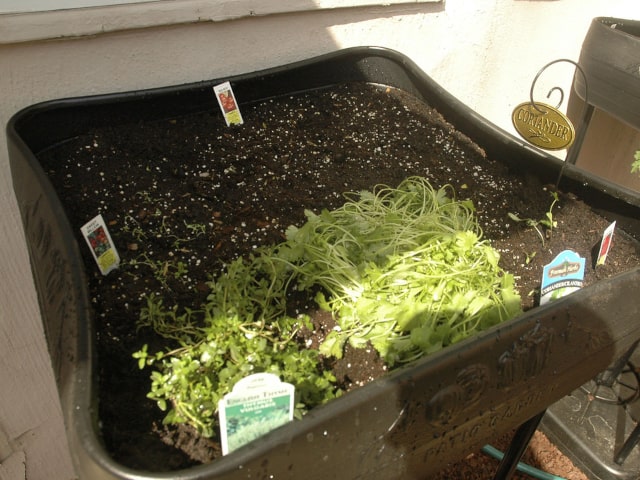
Choose the Right Containers
The next thing you need to know is how to choose the right containers (pots) to start the seeds properly. It's always best to use wide, flat containers. This will prevent overcrowding. Plastic containers and pots are better than clay pots for starting seeds, because they will retain moisture consistently. Wide and shallow containers are also good to prevent accumulation of excessive moisture around the fragile roots of your new seedlings.
If you want to start plants that are very sensitive to root disturbance, it's best to use very shallow individual pots, such as plug trays or cell packs. You may also use some recycled containers, such as empty yogurt or margarine tubs. However, make sure to poke holes in the bottom for drainage.
Also, keep in mind that all pots and containers you intend to use have to be clean and free of any pathogens. If you want to sanitize a container, you may soak it in a 10 percent bleach solution for about 15 minutes. Let it air dry and use it to start your seeds.
Know How to Sow
When you're ready to place the seed in the ground, you need to know how to do it properly. You may use a kitchen sieve to spread the soiless seed-starting mix evenly over the seeds. Make sure to do it to the depth of two times the seed diameter. It's important that the seed receives proper, direct contact with the medium. Each seed has to have a good contact with the moist surface so it can begin germinating. You can use a pestle to tamp down the surface gently so the seeds have a good contact with the moist medium.
Provide Adequate Air Flow and Drainage
To prevent disease and make your seedlings strong and healthy, you need to provide adequate drainage and air flow. Seedlings are prone to fungal infections (usually known as "damping off"), which is commonly caused by excessive moisture and poor air circulation.
To prevent this, cover the seeds with planting mix and tamp them down (as described in the previous tip). After this, spread a thin layer of 50 percent milled sphagnum and 50 percent starter chicken grit (finely ground stone) over the surface. This will keep the soil firmly around the emerging seedlings. It also create a bad environment for the pathogens.
To make some good air circulation, place a small fan near the seedlings. Make sure to keep it on low and position it in such a way to blow across the containers at the soil level. This is where the highest risk is for trapped and stagnant air.
Keep the Constant Moisture Level
It's important to know that seeds are very sensitive both to overwatering and underwatering. Heavy wearing can disturb the new seedlings a lot. This is why you need to make sure that the moisture level stays constant. Secure a plastic wrap over the surface of the pot right after you have sown the seeds. This will help preserving the equal moisture level.
Even with this, you need to observe the pots on a daily basis and check the moisture level and germination. In case you see you have to rehydrate the container, it's best to place the whole pot in a basin with 2 to 3 inches of warm water. Allow the planting medium to wick moisture from the bottom up. In case only the surface has dried, simply lift the plastic covering and use a spray bottle to apply some water on the surface.
Make sure to remove the plastic wrap as soon as the seeds germinate!
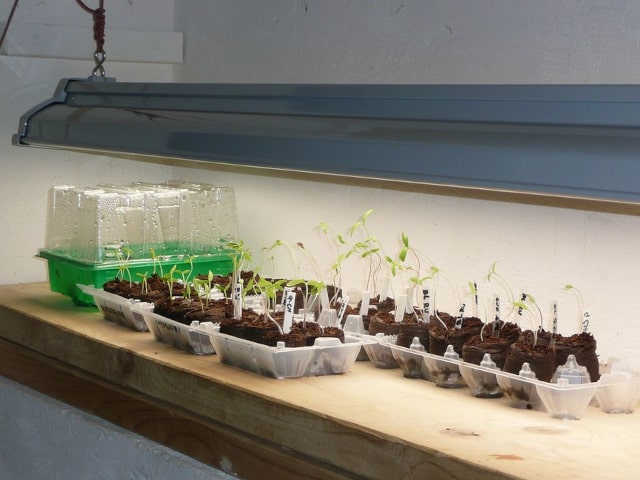
Keep Seeds Warm
Keeping seeds on an optimal temperature will encourage germination. Most seeds need temperatures in the range of 65 to 75 degrees F to germinate. This is why you should always make sure that the seeds have the most appropriate temperature so they can germinate without a problem.
To provide them with the most optimum conditions, you may place them near an existing heater or use a space heater. Make sure to take all safety precautions. You may also use a special heating pad designed for plant use and put it under the seed containers. This will warm the planting mix and make the seed germinate.
If you choose to use additional heat sources, make sure to check for moisture often. With the additional heat sources, the seed containers will likely dry out more quickly.
Make the Seedlings Strong
Keep in mind that most seeds won't germinate until you provide them with enough sunlight. Most of them need about 12 to 16 hours of sunlight each day to grow strong and healthy. If you're growing your seedlings indoors, make sure to place all of the seed containers in a sunny window (preferably south-facing).
To ensure that your seedlings can grow strong, you need to turn them regularly. Give the container a quarter turn each day. This will prevent the seedling to overreach to the light. This can result in weak, elongated stems.
Another thing you should do is to gently brush the palm of your hand against the tops of the seedlings. This will encourage strong stem growth.
Adequate Feeding
To grow strong and healthy, seedlings need proper nutrition. The embryo inside a seed develops with the help of the food stored inside the seed, in the endosperm. This will fuel the initial growth. However, as the seedling emerges from the soil and the true leaves develop, the initial nutrients will be depleted so this is when the seedling needs more nutrients, directly from the soil.
It's also the time when some additional fertilization is needed. Most of the seed starting mixes do contain a small nutrient charge made to help the seedling take nutrients but without developing burned roots (which can happen when the fertilizer is too strong).
However, once the true leaves develop, you will need to provide your seedling with proper fertilizer. It's best to start with half-strength liquid fertilizer once per week. This will provide your seedling with enough nutrients to ensure healthy growth.
Acclimate Seedlings
Another thing you need to keep in mind is that the seedlings have to be strong enough before you plant them outdoors. It means they have to be hardy enough. This is why it's important to acclimate your seedlings before planting them in the garden. This will prepare them for fluctuating temperatures and direct sunlight outdoors.
It's best to acclimate your seedlings over a three-day period. Place them in direct sunlight during the morning only on the first day. Gradually increase their time outside by a few hours to make them acclimatized to the outdoor conditions. This will make them hardy enough so you can plant them in your garden.
Photo credit: Chiot's Run

0 Comments