If you wish to improve your gardening, consider using olla pots. These pots will make your gardening efforts more successful and rewarding. This is actually a very old, ancient method of gardening and it still proves to be very successful.
Gardening with Ollas
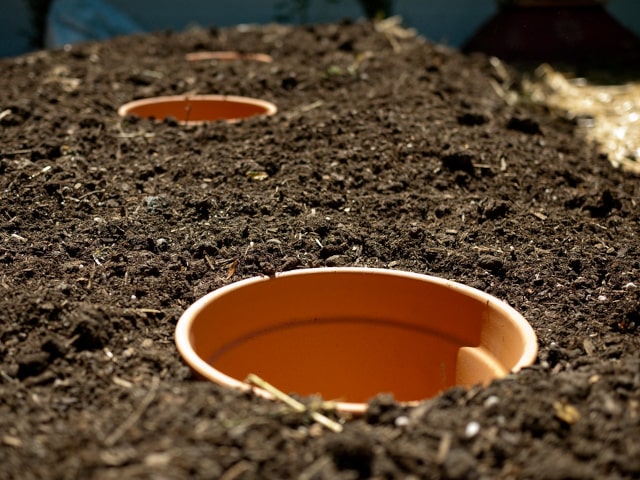
Ollas are clay pots that are buried in the soil near the plants you wish to grow. These pots are typically not glazed and they have a watering hole in the top. It allows gardeners to fill them with water when needed.
This water is very effective for the plants, especially during the dry period. When the soil is dry around the pot, it will pull moisture through the clay using osmosis. This moisture will be pulled into the soil. It means that the water from the ollas is gradually released to the soil and it reaches the plants.
This is a simple yet effective idea on how to improve your gardening and provide your plants with the moisture they need. The best thing of all is that you can make your ollas easily, all by yourself. You don't even have to spend a lot of money. Chances are that you will be able to make ollas for free.
How to Make Ollas
Ollas are very easy to make. You will need some basic materials most gardeners can find in their home:
- Clay pots. Make sure that they are not glazed. Pots that are 6x4 inches seem to work the best, but you may use pots of a different size.
- Clay saucers for the pots.
- Silicone caulk.
- A caulk gun.
- A damp sponge or a towel.
Instructions
Ollas are not difficult to make, so even beginners can complete this project successfully. Here are the steps you need to make to create your ollas:
- The first thing to do when making your ollas is to make sure that the clay saucers are lined up properly with the top of the pots.
- Once the saucers are positioned, put a bead of caulk all around the saucer.
- After this, line up with pot carefully to fit snugly with the saucer. Push down gently. It's important to use a good amount of caulk to hold the pot and the saucer together. If you push down too much you will squeeze out the caulk so there will be nothing to bind the pot and saucer together.
- Make sure to smooth out the caulk. There should be no gaps left. It's best to use a damp sponge or a towel to do this.
Wait about 24 hours before you use your homemade ollas. To test the ollas, will them with water and watch for the leaks. There should be no leaks on the pots or the saucers.
How to Use Ollas
To use the ollas, bury them into the soil near the plants. Make sure that the filling hole is left slightly above the ground. You may cover the olla with a rock or another pot to prevent the moisture from evaporating too quickly.
Once filled with water, ollas will help your plants receive moisture, especially when the ground is dry. The water from the olla will slowly be released to the plants, making them properly moisturized. This is a great advantage you can give to your plants.
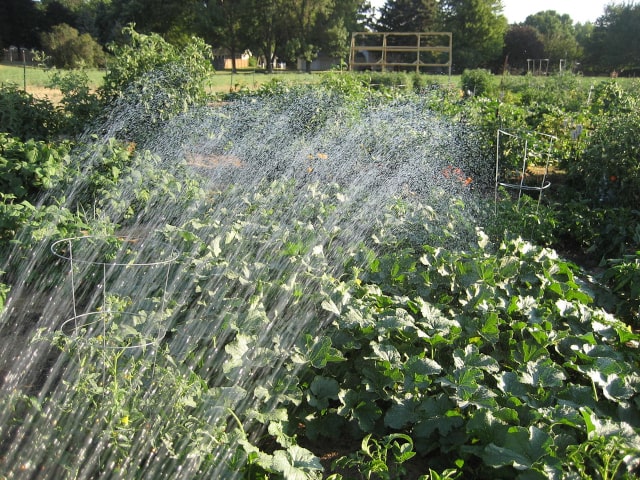
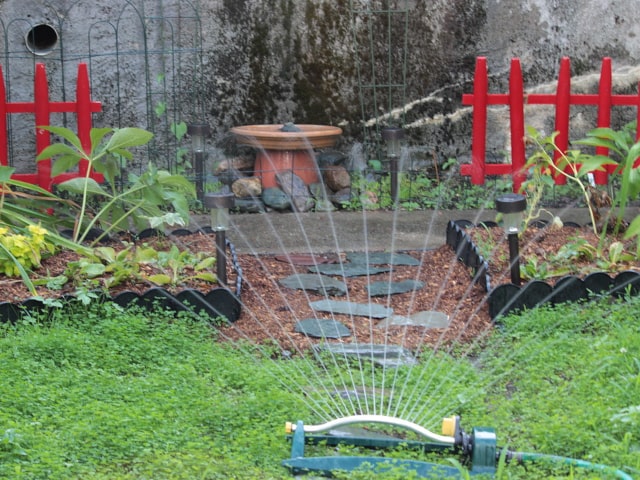
However, keep in mind that ollas are just there to help. They can't replace proper watering. It's important to use traditional watering methods in order to keep your plants properly watered.
Photo credit: stefan klocek

0 Comments